

Design
Roll-Up Banner Artwork: Viewing Distance, Safe Zones and Setup
A roll-up banner is often ordered by finished width and height, but those dimensions are only the beginning of an effective display. Part of the artwork is hidden inside the base cassette; another section may be too low to read in a crowded hallway. Lighting, viewing distance, assembly and transportation affect the result just as much as attractive graphics. This guide helps event and retail teams prepare a banner that remains legible when actually standing in its display hardware.
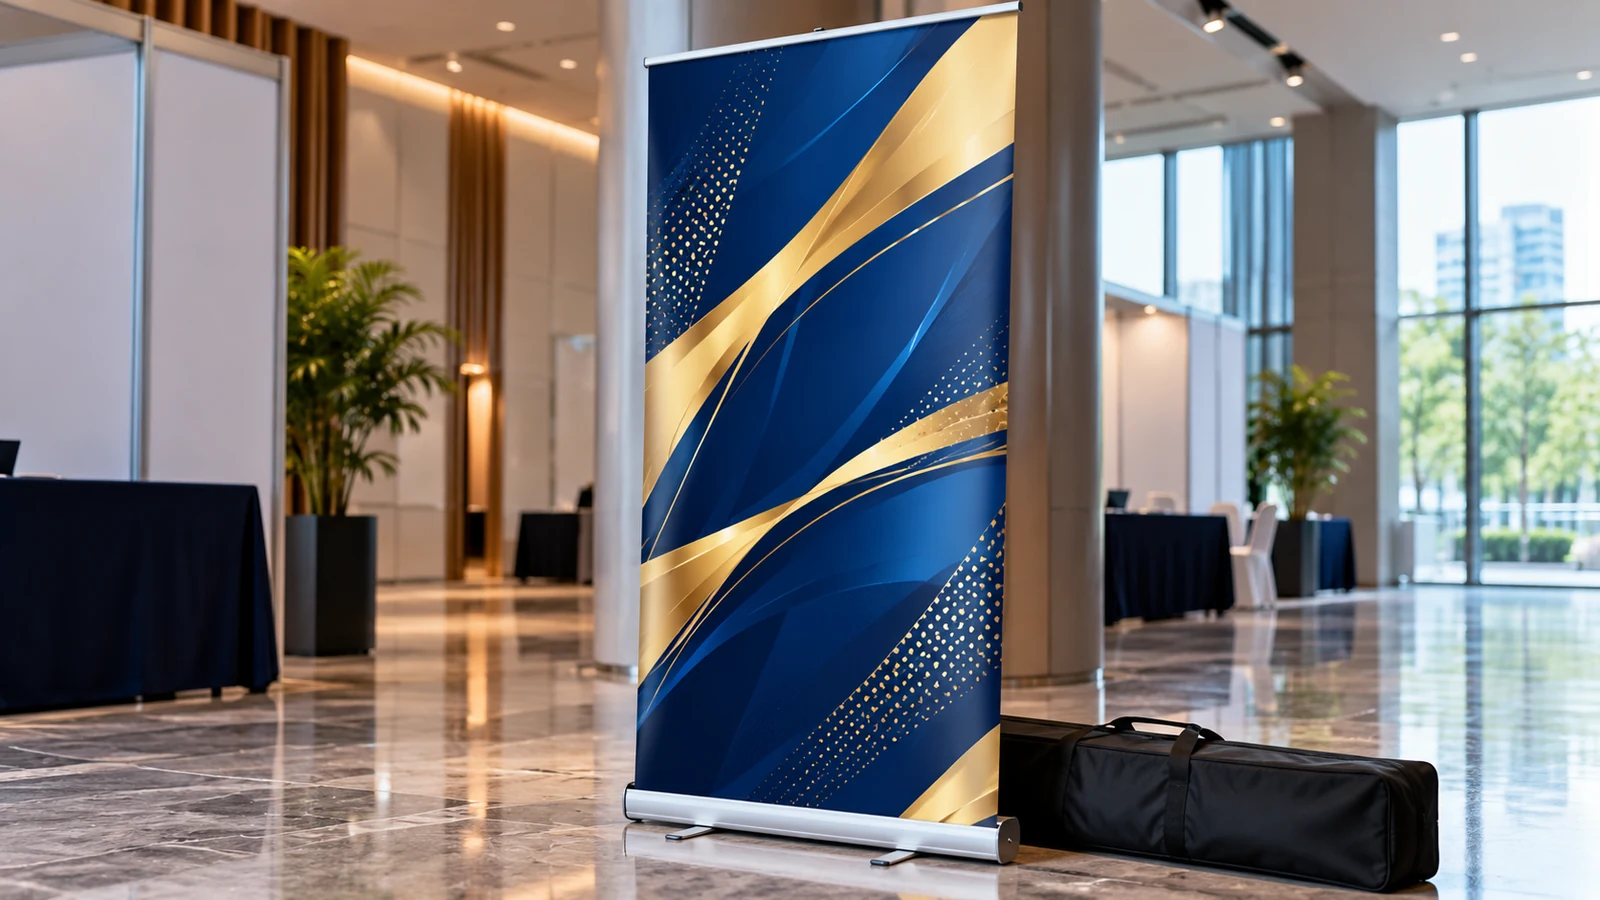
Plan for the viewer’s distance and movement
A standing banner is rarely read like a brochure. Visitors often see it from several metres away while walking, carrying bags or talking to someone. Its job is to communicate one clear identity and a short supporting message. Start by asking what should be understood in two seconds: the company name, product category, location of a booth or a single offer. Avoid treating every available centimetre as space that must be filled with copy.
Use a deliberate hierarchy. The main message should be visible from the expected approach path, while supporting details can be smaller for someone standing nearby. A beautiful paragraph of fine text at waist height may be functionally invisible. If event organisers place the display behind a table, the lower portion will be hidden, even though the printed banner looks perfect on a desk. Sketch the planned installation with furniture before the design is approved.
Ask for the cassette’s actual artwork template
Different roll-up stands have different allowances where the print attaches inside the base and under the top rail. A generic rectangle at the quoted visible size may leave important artwork trapped in the cassette or cut off by the upper clamp. Ask the supplier for the model-specific template showing finished trim, lower insertion allowance and top attachment area. Protect logos and text from those mechanically affected zones.
Background colours and nonessential pattern elements can extend into the hidden area. That makes the transition into the base visually clean while keeping the important information above it. Keep a safe margin at the left and right edges too: fabricating and trimming a long, narrow sheet can introduce small alignment differences. Do not invent a universal bleed or insertion number; use the actual stand specification supplied for this order.
Design contrast for real exhibition lighting
Trade halls, hotel ballrooms and shop entrances contain a mix of overhead lights, natural daylight and reflections. A dark photograph may become muddy, while very pale lettering over a bright background may disappear at a distance. Test the banner’s headline in a small screen thumbnail and in an approximately life-size printout. If the message is unclear in either setting, simplify rather than adding another shadow or gradient effect.
Use photographs with sufficient resolution for the area they occupy at the final physical size. A high pixel count at the wrong scale is not enough: check effective resolution after the image has been enlarged in the layout. Consider whether the substrate has a matte or glossy surface and how that interacts with spotlights. A restrained colour palette with one strong focal point often survives unpredictable lighting better than a full-height collage of unrelated images.
Consider cassette stability and practical placement
The hardware matters. Lightweight stands may be convenient for temporary indoor promotions, while more robust bases can be preferable for repeated event use. Ask whether the pole locks securely, whether the sheet retracts smoothly, and how the display behaves on the floor material at the venue. Never assume a standard indoor roll-up is suitable outdoors, where wind can overturn or damage a tall lightweight stand.
Before printing, confirm any venue restrictions on signage locations, fire routes and storage. A banner placed behind a queue or against a window may not be read as planned. When a team uses several banners, mark each carry bag with its location and assign setup responsibility. JCP lists display stands and banner printing among its verified capabilities, but the stand model and hardware inclusion must still be confirmed in the quotation.
Check typography, calls to action and QR codes
Large headings need more than a big font size; they need enough contrast and space around them to stand apart from a busy photograph. Limit the display to a short headline, one supporting benefit and a clear action where applicable. A phone number or website may be more robust than a tiny QR code. If using a QR code, place it where people can approach comfortably, not at ankle height or behind a counter.
A QR symbol on a vertical banner must be tested from the intended scanning distance. Keep its quiet zone clear, and ensure the link goes to a mobile-friendly page that will remain available during the event. Avoid making the code the only route to the offer. For branded event displays, the logo should remain recognizable without relying on close inspection. Remove secondary decorative elements before reducing essential text to fit.
Proof the complete physical display
A realistic proof checks more than artwork spelling. Verify orientation, finished size, cassette allowance, logo placement, colour references, image sharpness and packaging. Print a reduced layout to inspect hierarchy, then review any scale-critical areas at true size. Ask the supplier about how colour matching will be handled; different substrates and print systems can produce visible shifts even when identical artwork is supplied.
At collection or delivery, test assembly in a safe indoor area. Pull the banner up slowly, attach the pole correctly and check whether the sheet sits straight without curling at the top. Confirm that the carry bag and protective packaging are included if specified. Keep setup instructions with the banner for future users. A small inspection now prevents an awkward discovery moments before guests enter an exhibition or event venue.
Frequently asked questions
Can one artwork fit every roll-up stand?
Not reliably. Different cassettes can have different hidden and clamp allowances. Request the exact template for the chosen hardware before finalising the file.
Should the bottom section contain important contact details?
Usually not. It may be hidden by furniture, crowds or the base itself. Keep essential information in the main visible field.
Is a roll-up banner suitable for outdoor use?
Only when the equipment is specifically rated and secured for the conditions. Standard indoor stands can be unstable in wind.
What files should be supplied for printing?
Ask the printer for its preferred format and template. A high-quality PDF with fonts handled correctly and photographs checked at final scale is a common starting point.
Preparing an order? For garment, artwork and print specifications, consult JCP’s official printing-service information and request a quotation for the exact item and quantity.