

Planning Sublimation Artwork Across Jersey Panels
A full-print jersey is assembled from separate fabric panels, so artwork that looks continuous on a flat mock-up can shift once front, back, sleeves and side seams are sewn together. The safest design treats seams as construction boundaries, not invisible lines.
In This Article
Direct Answer
A full-print jersey is assembled from separate fabric panels, so artwork that looks continuous on a flat mock-up can shift once front, back, sleeves and side seams are sewn together. The safest design treats seams as construction boundaries, not invisible lines.
Design From the Actual Cut Pattern
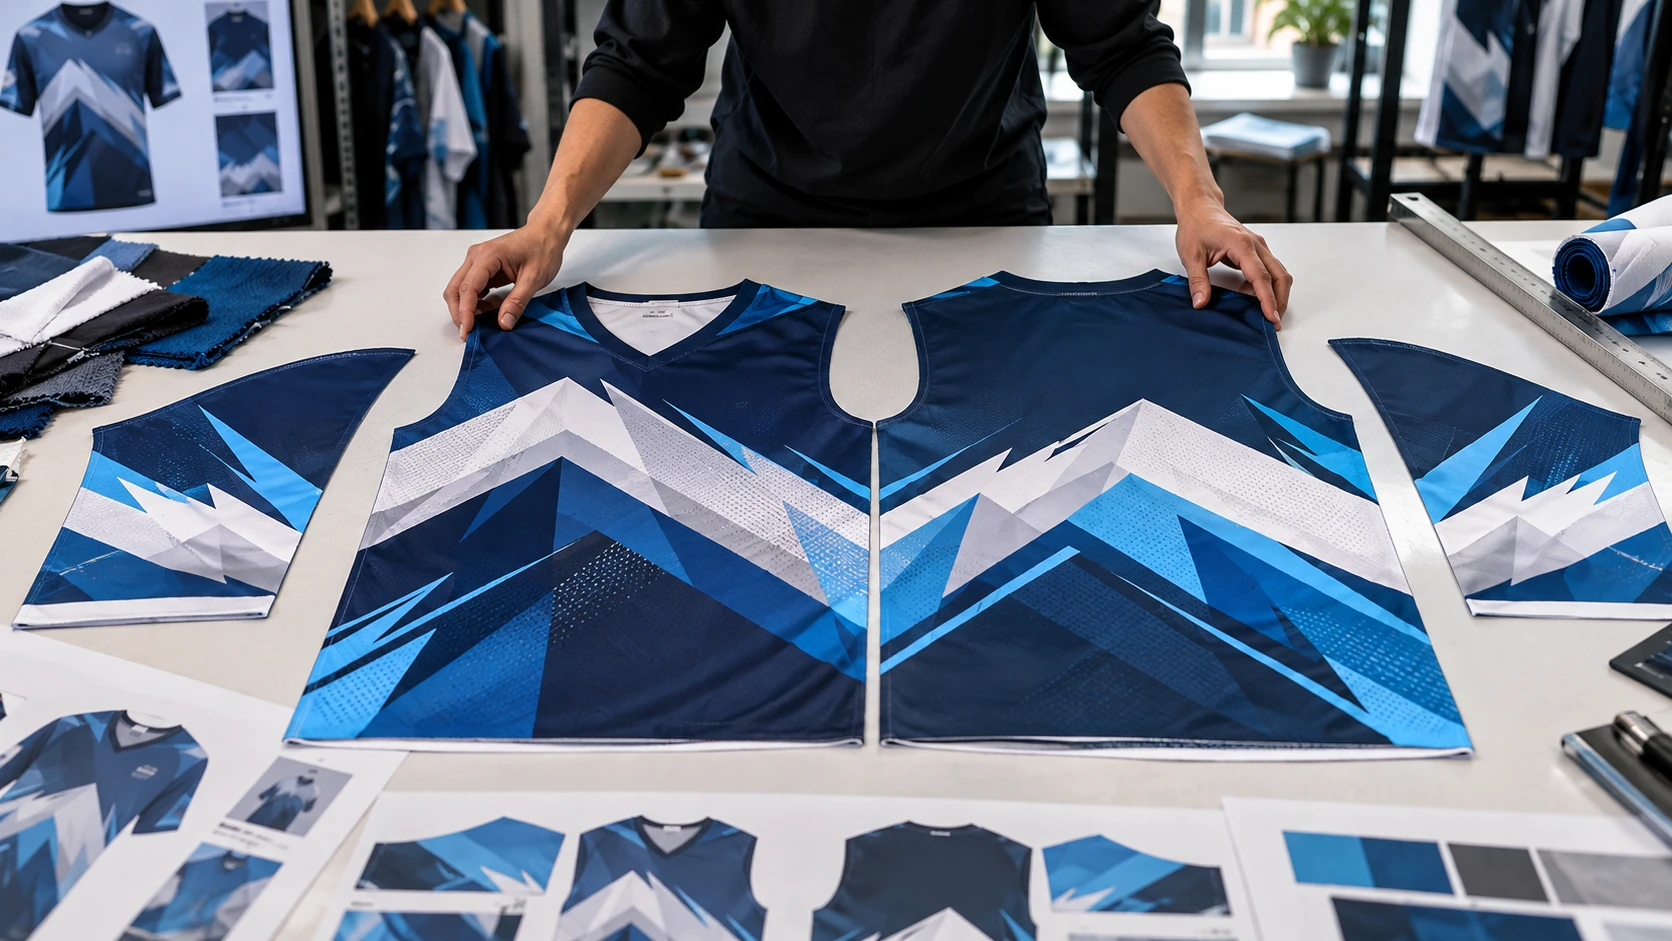
A jersey mock-up shows the idea; the production pattern controls where the idea lands. Front, back, sleeve and collar pieces have different shapes, seam allowances and curves. Artwork should therefore be placed on the actual production template, with important elements kept inside safe areas. A diagonal stripe that crosses from body to sleeve may appear continuous in a 3D preview but become offset when the sleeve is attached. The risk increases when the line is thin or when its angle changes sharply at the seam. Use the mock-up to communicate appearance, but use the panel template to make production decisions.
Know Which Elements Can Tolerate Movement
Gradients, textures and irregular repeats usually tolerate small sewing variation better than a single thin line that must meet perfectly across a seam. Large logos, names and numbers should normally sit on one panel rather than straddle construction lines. If a motif must cross a seam, design enough visual tolerance that a few millimetres of movement does not make the garment look defective. Repeated patterns can also hide variation if the repeat is not overly geometric. This is not an excuse for careless sewing; it is a way of designing for the reality of cut-and-sew production. The strongest artwork works with the garment rather than demanding impossible alignment.
| Artwork Element | Seam Risk | Safer Approach |
|---|---|---|
| Thin continuous stripe | High | Break or widen it near the seam |
| Soft gradient | Low | Extend bleed beyond cut line |
| Chest logo | Low if kept on one panel | Keep inside safe area |
| Geometric repeat | Medium/high | Use repeat scale that tolerates small shifts |
Allow for Seam Allowance and Cropping
The printed fabric extends beyond the visible finished edge because part of each panel is consumed in the seam. Artwork placed too close to that boundary can be partially hidden after sewing. This matters for borders, sponsor marks, text and batik-inspired motifs with a distinct focal element. A useful production file includes bleed beyond the cut line and keeps critical content inside a safe zone. The exact allowance depends on the pattern and sewing method, so the printer's template should take priority over a generic online jersey outline. Before approval, review both the flat panels and the assembled preview. If losing 5–10 mm would ruin the idea, the element is probably too close to the seam.
Size Grading Can Change Pattern Relationships
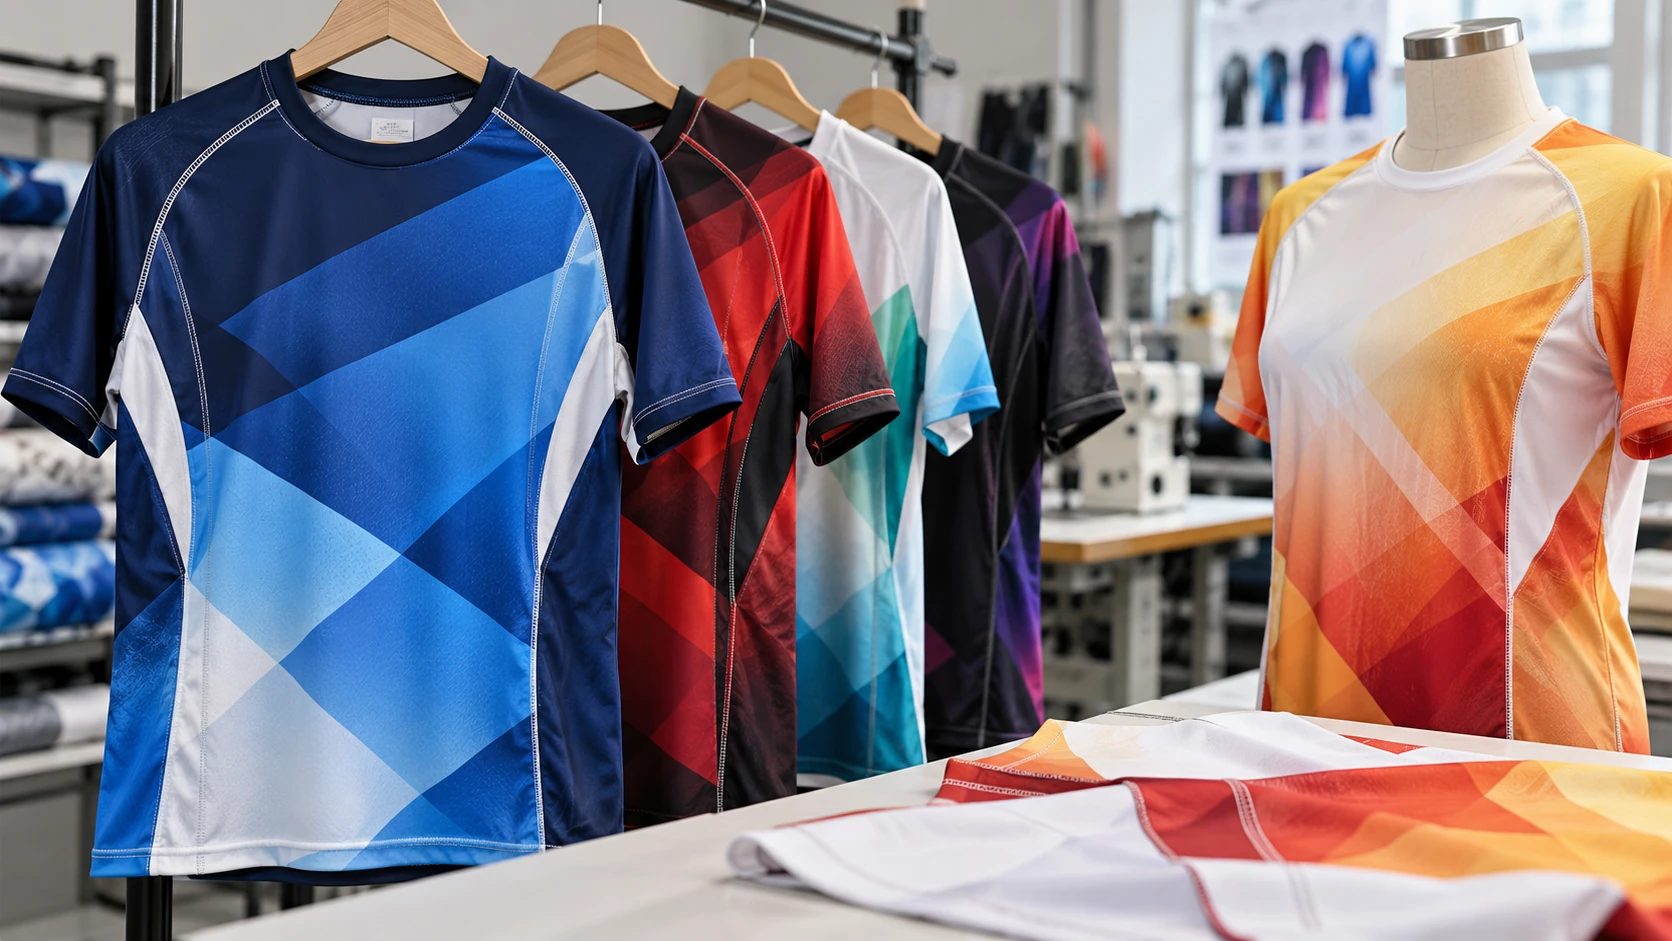
A design approved on size M still has to work on XS, 3XL and other sizes in the order. Larger and smaller panels do not always scale every visual element in the same way. A motif positioned a fixed distance from the side seam may appear proportionally different across sizes, while an oversized graphic can be cropped differently. Decide which elements should stay at a fixed physical size—such as a chest logo—and which should scale with the garment. For team jerseys, names and numbers also need a consistent hierarchy across the size range. Reviewing at least one small and one large graded template catches problems that a single medium mock-up cannot.
Approve the Flat Layout and the Sewn Sample for Different Reasons
The flat production layout is best for checking safe areas, bleed, panel boundaries and artwork scale. A sewn sample is best for judging how those choices behave on the body. Use both when the design relies heavily on seam relationships or complex all-over patterns. On the sample, check shoulder joins, side seams, sleeve attachment, collar transitions and the position of logos after the garment is worn. If a seam mismatch is visually distracting, adjust the artwork rather than expecting sewing to correct an unforgiving design. Once approved, keep the final panel files and size rules together for repeat orders.
If a few millimetres of sewing movement can ruin the artwork, redesign the seam area before production.
Frequently Asked Questions
Can a printer guarantee perfect pattern matching at every seam?+
Cut-and-sew production has tolerances. Good planning reduces visible mismatch, but artwork should not rely on impossible zero-variation alignment.
Should logos cross jersey seams?+
Usually no. Critical logos are easier to control when kept within one panel.
Do all sizes use the same artwork file?+
They use the same design system, but production templates are graded by size and should be checked accordingly.
Need Production Support?
If this issue affects an upcoming apparel or printing order, JCP can help review the material, artwork and production requirements before bulk production.
Discuss Your Requirements