

Custom Polo Collars and Contrast Piping: Small Details That Change a Uniform
Learn how collar styles, button plackets, tipping and contrast piping influence the look, comfort and cost of custom polo uniforms.
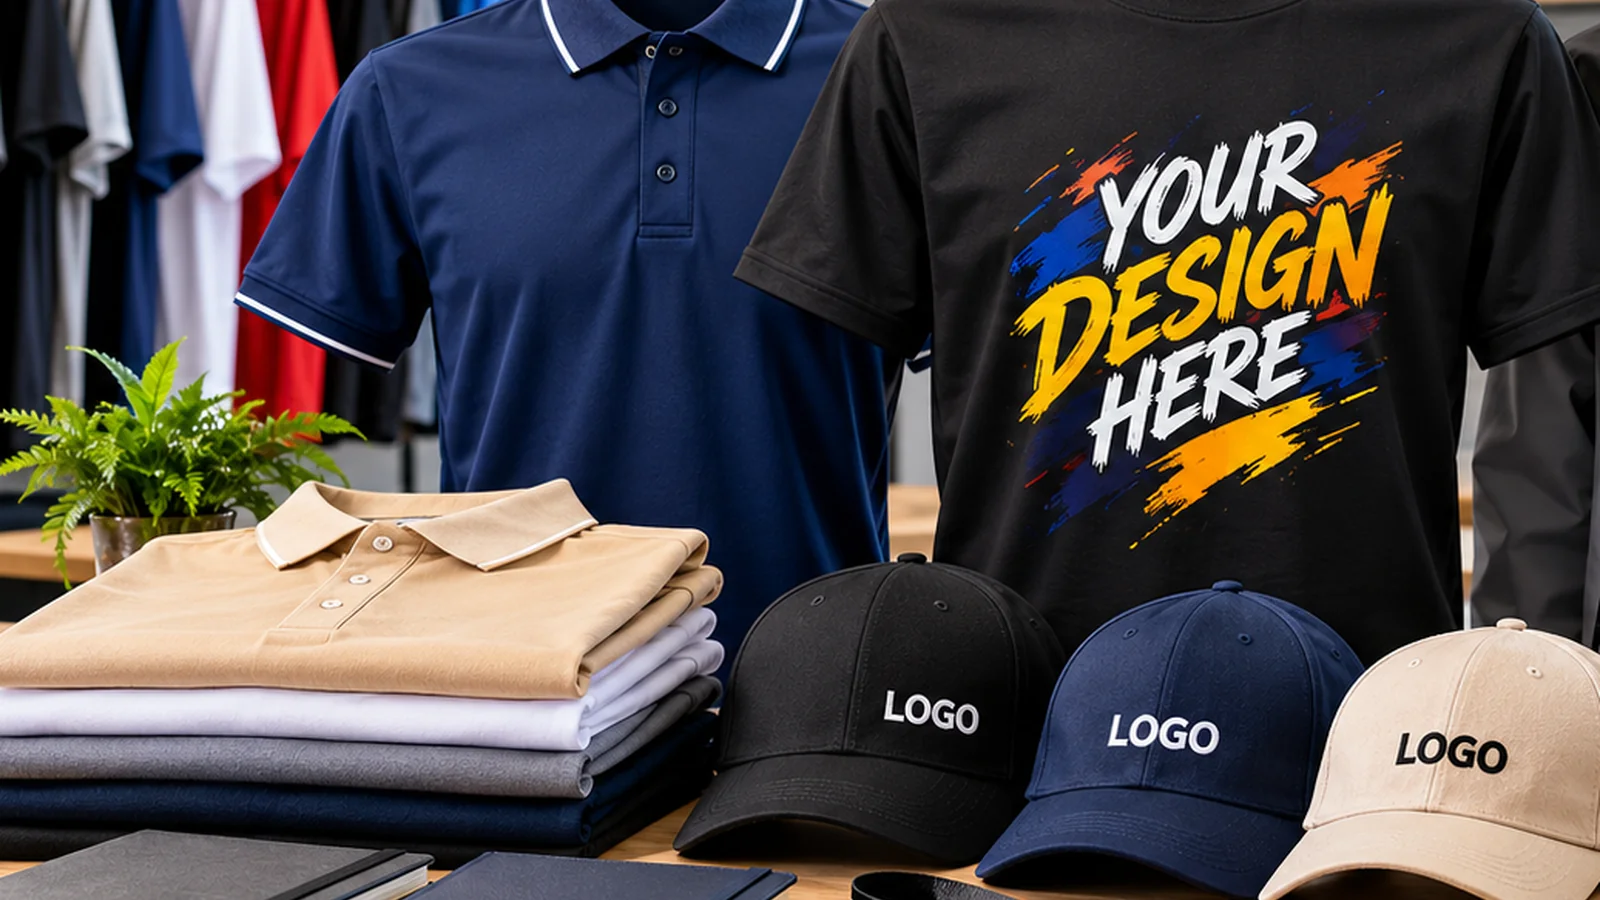
When two departments wear the same navy polo, the differences may come down to a collar edge, a narrow stripe or the number of buttons. These details look small in a flat design file, yet they determine how polished the shirt appears in motion. They also affect production methods, reorders and how easily staff recognise a consistent company uniform across different garment sizes.
Use the collar to set the dress code
A plain ribbed collar is familiar and flexible, making it suitable for service staff who need a smart appearance without a formal shirt. A tipped collar adds a contrasting line along the edge, which can repeat a brand colour without covering the whole garment. A structured self-fabric collar may feel neater in some styles, but it behaves differently after washing and should be inspected on a real sample.
Before selecting a style, compare how it sits when the wearer moves, bends and looks down. A collar that looks crisp on a mannequin may curl or collapse on an active worker. Ask whether the colour trim is knitted into the collar or sewn on, because the method affects the finish and matching. Comfort and stability should take priority over a decorative edge that becomes distracting after several washes.
A comparison board with two or three trim options is usually enough for a buying committee. Place them beside the approved company colour and logo thread rather than examining each shirt in isolation. This makes the visual trade-offs obvious and reduces the tendency to keep adding decorative elements. Record the rejected options as well, so later reviewers understand the design choice.
Think about the button placket
The placket controls the opening at the neck. Two buttons often produce a simpler sports-casual look, while three can provide more adjustment and a slightly dressier appearance. Neither option guarantees a better fit; collar circumference, shoulder shape and fabric recovery matter more. Contrast placket fabric or buttons can create a strong accent, but extra colours increase the number of components that must match during production.
Ask for photographs of the shirt buttoned and unbuttoned, and on at least two sizes. A design can look balanced on a medium sample and appear crowded on a larger size if the placket length changes. For front-desk teams, consider how the shirt works beneath a lanyard or ID holder. Keeping the upper chest area visually calm can make small embroidered logos easier to read.
Piping should follow the garment, not fight it
Piping is a narrow fabric detail sewn into a seam, often at a shoulder, side panel or sleeve junction. It can guide the eye and unify an otherwise plain design. But too many contrast lines create visual noise, especially alongside a large logo. Use piping to describe a deliberate pattern, not merely because the design brief asks for “more premium detail”.
Check how the piping crosses seams and whether it creates hard edges in areas that bend. A side-panel line should remain smooth when the shirt is worn, not only when it lies flat. The cut-and-sew uniform service illustrates why garment construction and decoration are linked: a stripe added in a seam is a tailoring decision, whereas a printed line is a surface-design decision.
Limit the number of custom components
Every special collar, rib cuff, contrast panel and button colour adds specification points. On a small order, a plain ready-made polo with embroidery may offer better value and faster continuity for future hires. Custom garment production is more useful when the distinctive details are central to the brand or when the desired cut and colourway cannot be achieved using stock shirts.
Build a component list before asking for a production estimate. Record the main fabric colour, collar type, trim colour, number of buttons, cuff type, sleeve finish and logo position. A manufacturer can then price the garment consistently instead of interpreting different reference images. The list also makes future replacements easier to audit when the original designer or buyer is no longer available.
Consider maintenance before choosing decorative trim
Contrasting collar edges are visually appealing partly because they stay close to the face and logo, but that also makes any fading, curling or dirt easy to notice. A light collar band on a dark shirt might require different stain-treatment attention from the main body. Ask for washing instructions for the complete garment, including trims, and observe whether two fabric colours behave similarly after a trial wash.
If the team uses industrial laundry, tell the supplier before approving a custom combination. Some decorative elements suit gentle domestic washing more than repeated high-temperature processing. A restrained trim that survives day-to-day care is usually worth more than an elaborate mockup that becomes difficult to maintain. The approved physical garment, not the digital rendering, should define the production standard.
Proof colour under realistic lighting
A thin bright accent can look vivid on a designer’s monitor and much darker against an actual navy knit. Review fabric swatches in daylight and under the lighting of the intended workplace. If exact corporate colours are important, approve a real fabric or thread reference rather than an RGB number alone. A subtle difference between collar tipping and chest embroidery can be more visible than buyers expect.
Set one priority colour and use a limited supporting palette. For example, a dark polo could use one teal stripe at the collar and matching teal thread in a small chest icon. That is often clearer than adding teal side panels, red piping and white cuff accents at once. A simpler system also reduces substitution risk when the next batch uses a different size distribution.
A useful sample approval checklist
The final sample should be photographed from the front, back, sides and close-up views of the collar, cuff and placket. Have at least one intended wearer try it on while standing, seated and moving. Check whether seams feel bulky, whether the collar sits evenly and whether branding survives the shirt being tucked or untucked. This is a product test, not just a visual approval.
Once approved, keep the measurement sheet and component references with the artwork files. Record accepted tolerances and any size-specific variation. That modest administrative discipline prevents the common problem of a second order arriving with the right logo but a slightly different collar or trim. Before confirming quantity, review a final bill of materials together with the supplier.
Frequently asked questions
Is custom piping always more expensive?
It adds construction work and components; the actual effect on price depends on fabric, method, quantity and supplier.
Can a stock polo have a contrasting collar?
Some ready-made styles have contrast trim, though colours and future availability must be checked.
Should collar and logo colours match exactly?
Ideally they should coordinate, but physical samples are the safest way to judge a good match.
When requesting a quotation, send the finished quantity, intended use, relevant size or artwork files and any firm deadlines. A clear brief helps the team compare suitable options and avoid unnecessary revisions. For detailed specifications, use the relevant linked service information or contact the printing team.