

Uniform Types
Team Zip-Up Hoodies: Logo Placement Around Zippers, Pockets and Seams
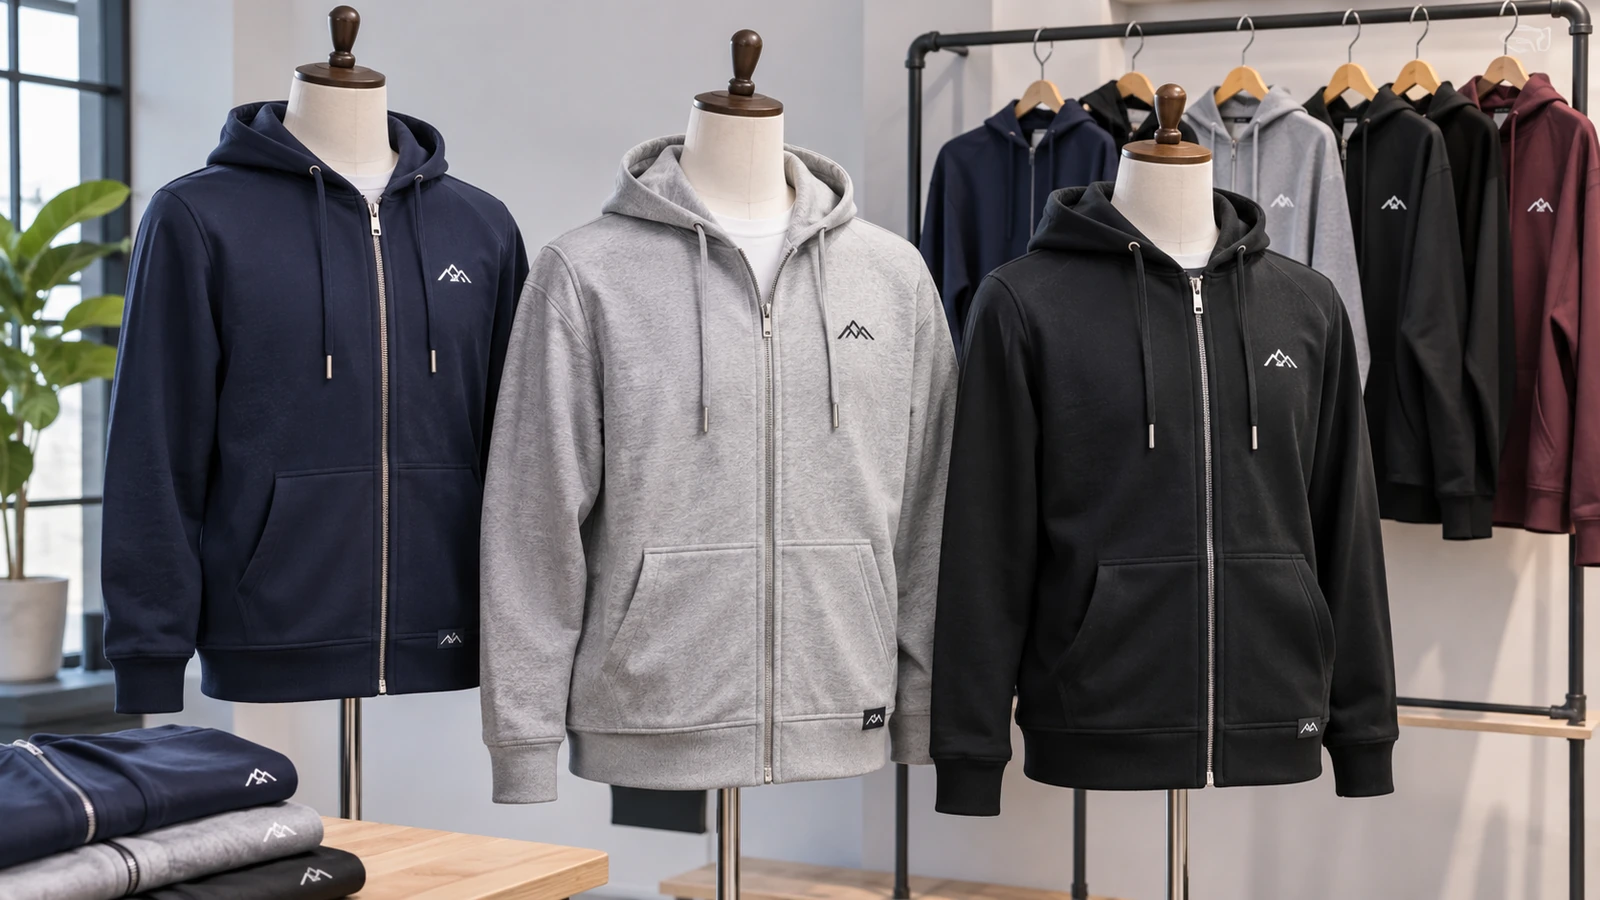
Zip-up hoodies are popular for volunteer groups, office teams and cooler indoor work environments, but their front panels are less forgiving than a plain T-shirt. A full-length zipper divides the chest, pockets interrupt the lower area and thick fabric can affect embroidery or transfer results. The best branding plan starts with a physical garment laid flat and worn—not with a centred design copied from a pullover mock-up.
Map obstacles before sizing the logo
Close the zipper fully and identify the visible uninterrupted areas on the left chest, right chest, upper back and sleeve. A large front graphic may be divided in half by the zipper, which creates alignment risks and may look broken when worn open. Chest placement is often simpler for short marks or emblems.
Measure from consistent garment landmarks such as a shoulder seam or the centre line rather than using the pocket edge as the only reference. Hoodie pocket shapes and body proportions can change across sizes. Record the position in a size-specific specification sheet if exact alignment matters.
For volunteer uniforms that need names or roles, consider whether the back or sleeve offers clearer visibility. A position that looks balanced from the front may be hidden by a shoulder strap or name lanyard in actual use.
Understand fabric pile, stretch and embroidery support
Fleece-backed and brushed hoodie fabrics can feel bulky while the outer face stretches under pressure. Dense embroidery adds concentrated stitches and may pull the surrounding fabric if hooping, stabiliser or design density is inappropriate. The correct backing and placement must be evaluated using a sample of the chosen hoodie.
Large fills may feel stiff on soft fabric. Simplifying tiny text or choosing a smaller embroidery design can improve comfort and appearance without weakening recognition. Check that the backing does not create an irritating patch against the wearer.
For decorated garments, compare the result after a normal wash using the care instructions. A logo that lies flat immediately after production might distort once the hoodie relaxes or shrinks slightly.
Plan heat-transfer or printed graphics around hardware
Heat presses need firm, relatively level contact. Zippers, drawstring eyelets, heavy seams and pocket layers can prevent uniform pressure under a platen. A design placed too close to hardware may receive uneven heat and adhesion, even though the artwork looked correct on a digital mock-up.
Production teams may use suitable pads, attachments or alternative locations, but each configuration needs testing. Do not assume a T-shirt transfer temperature or pressure is automatically safe for a hoodie with different fibre content or trim components.
When a team requires a large front image, consider whether a pullover is the better base garment. Choosing the right garment style may solve a technical problem more effectively than forcing a complex design around the zipper.
Check pockets and wearer movement
Pocket openings and seams interrupt print areas and can distort artwork when hands are inserted. Place important text above or away from these zones. Ask a wearer to zip up, sit down, stretch and put hands in pockets while someone inspects the logo position.
The same hoodie may look different in small and extended sizes. A fixed absolute print width can dominate a small garment but appear sparse on a large one. Agree whether the programme uses one print size, two size groups or proportional artwork variants.
Test hoodies with a radio clip, backpack strap or lanyard if those are standard work accessories. Physical overlap is often the real-world reason a technically correct logo goes unnoticed.
Use brand placement to organise the team
For teams with several roles, use a consistent core logo and separate identifiers such as a colour-coded sleeve mark, small role text or back print. Avoid placing every piece of information on the chest. The goal is quick identification, not making the hoodie resemble a crowded promotional poster.
Keep artwork contrasts strong enough to work on the darkest and lightest planned colours. A thin navy logo on black fleece may disappear, while an overly reflective graphic might not suit a formal office uniform. Approve a representative sample of each base colour.
If the hoodie coordinates with polos, caps or jackets, accept that branding methods may produce slightly different surface textures. Document the intended visual relationship rather than promising identical ink and thread appearance.
Finalise size, sample and reorder controls
Before production, collect accurate size quantities and confirm whether the fit is unisex or a style-specific cut. Check the hoodie when fully zipped, partially open and worn over the normal uniform layer. Sleeve length, chest ease and hem position can affect decoration placement.
JCP advertises apparel printing methods and custom uniform work; obtain method-specific advice for the selected hoodie fabric and actual order rather than relying on a generic promise. Approve one decorated sample with the agreed thread or print colours, measurements and wash-care instructions.
Keep the approved artwork and placement measurements with the hoodie product code. If a brand or garment construction changes during a later top-up, schedule another sample check because zipper length and pocket geometry may shift.
Before approving production
- Lay the hoodie flat with its zipper closed and mark the uninterrupted areas available for the proposed artwork.
- Measure placement relative to consistent construction landmarks, allowing extra clearance from pocket openings and bulky seams.
- Try the decorated sample on a wearer with a lanyard, radio clip or bag strap if these are part of the normal uniform.
- Confirm that a heat press can make level contact or that the embroidery design has suitable support on this fabric.
- Check the visual balance of the logo on small and large garments before approving a single artwork width for every size.
- Inspect the sample after laundering under its care instructions and retain the approved placement measurements for future top-ups.
Frequently asked questions
Can a logo cross a zip-up hoodie zipper?
It can be designed that way, but alignment and wear state become critical. A smaller chest logo is usually easier to control.
Is embroidery best for every hoodie?
No. Fabric construction, logo size, comfort, cost and production method should be considered together.
Should large hoodies get larger logos?
Not automatically. Approve one or more placement sizes based on real samples across the size range.
Where should staff names go?
Choose a location that stays visible and does not conflict with lanyards, straps, zippers or pockets.
Preparing a similar project? Confirm your material, artwork and sample requirements before ordering. For available apparel, print and display services, see the JCP printing service overview and request a project-specific quotation.