

Buying & Pricing
Die-Cut vs Kiss-Cut Stickers: Packaging, Handout and Sheet Choices
Sticker buyers often choose a cutting term without thinking about how the finished labels will be stored, peeled and applied. Two stickers can carry identical printed artwork but feel quite different in use: one has the backing trimmed around the shape while another retains a larger backing sheet. Understanding die-cut and kiss-cut formats helps packaging teams prevent wasted time, awkward peeling and unnecessary production complexity.
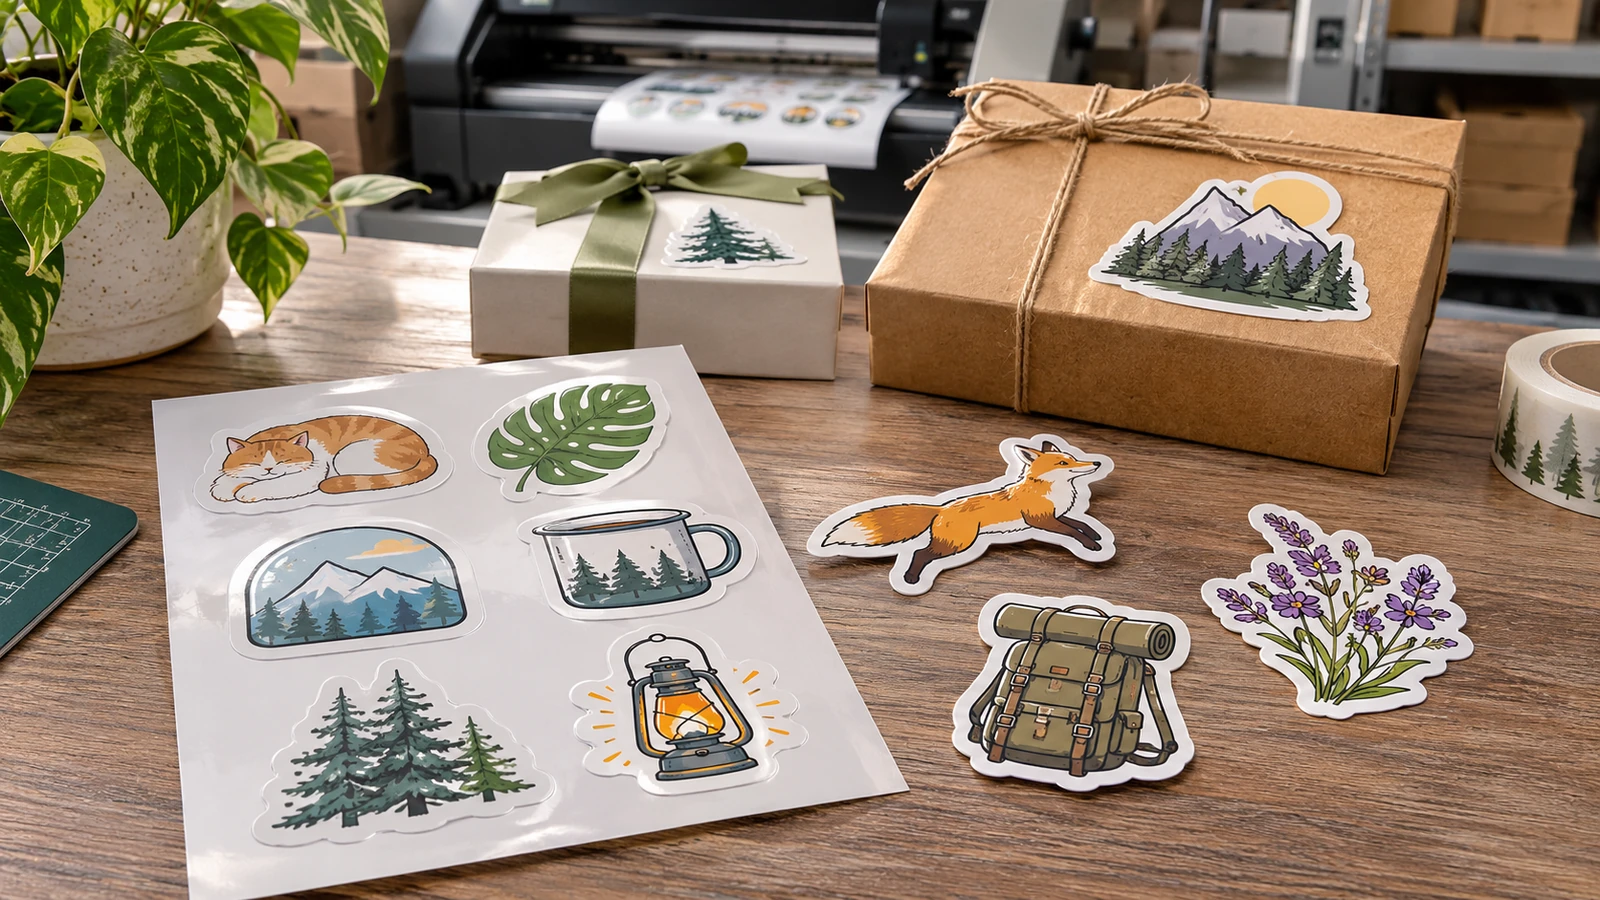
Understand the cut depth before comparing prices
In everyday trade usage, die-cut generally describes an individually shaped sticker whose release liner follows its outer perimeter. A kiss-cut cuts the printable sticker layer but leaves the liner whole, so the finished piece can sit inside a rectangular backing or a multiple-sticker sheet. Suppliers may use these labels slightly differently, so confirm the final physical format.
Ask to see an actual sample rather than choosing from a product name. A handout sticker with no surrounding liner can look more refined but may be harder to pick up at an irregular corner. A kiss-cut sheet offers extra liner area that improves handling and can carry several designs together.
Explain the intended application in the quotation request: by hand at a packing table, by staff at a counter, or by the end customer. That usually reveals the right cut arrangement more quickly than discussing cutting terminology alone.
Plan the application workflow and peel tab
Packing teams may apply dozens of labels in one session. If a sticker edge is difficult to separate from the liner, a few extra seconds per item can create unnecessary friction. A slightly larger backing, peel tab or sheet arrangement may improve handling substantially for small intricate shapes.
However, a generous liner border may be undesirable when stickers are meant to be distributed individually as branded gifts. For handouts, the finished appearance and pocket-friendly dimensions matter. The optimal choice often differs between internal packaging labels and promotional stickers customers keep.
Make a timed trial using the actual number of stickers, surface type and staff gloves if applicable. A good sample test includes removal, positioning, burnishing and inspection for trapped bubbles.
Avoid fragile corners and overly detailed contours
Fine spikes, narrow bridges and deep internal notches create handling and cutting challenges. The smaller the sticker, the more noticeable these issues become. Simplifying the silhouette can improve appearance without changing the essential brand identity.
Leave breathing room between important artwork and the cut line. Confirm the required bleed and safety allowance with the chosen printer. A coloured border that looks symmetrical on screen can appear uneven when trimmed if the artwork was designed with no practical tolerance.
Use vector paths for the proposed cut contour where supported and keep the contour on a separate, clearly labelled layer. Never assume the printer will infer the intended shape from a low-resolution preview.
Match material to the packaging surface
Paper labels are often suitable for dry, indoor packaging; synthetic films can be useful where moisture or abrasion is expected. Adhesive performance varies with surface energy, texture, temperature and contamination, so material selection should not be reduced to “paper versus vinyl” alone.
A label that adheres well to smooth coated cardboard may struggle on dusty kraft paper or a textured reusable container. Test adhesion on the actual packaging material after the surface has reached its normal storage temperature. Observe the label at corners and after handling rather than judging immediately after application.
If packaging requires recyclability or easy removal, discuss adhesive and face-stock choices explicitly. A permanent label is not automatically the most appropriate solution.
Choose sheets or individual pieces intentionally
Stickers on a sheet can support batching, stock counts and several artwork variants. Individually cut pieces may be better for sampling kits, event giveaways and product inserts. Consider how the printed quantity will be counted, packed and stored: a cost-effective print layout may still waste labour if the wrong delivery format is selected.
When there are multiple sticker designs, provide a variant count and artwork map. A printer needs to know whether the total quantity is per design or across an assorted sheet. Without that distinction, a quote can be technically correct yet supply the wrong distribution.
Include the finished piece size, liner format, material, finish, number of designs and intended use in the purchase order. This makes comparison between supplier quotations much more meaningful.
Approve a cut-and-application sample before bulk work
Inspect the printed sample for edge clarity, colour, liner separation and adhesion. Apply it to the actual box or promotional surface, then handle it as customers will. A decorative curve that looked smooth in the proof may create a vulnerable tip once the label is peeled.
JCP lists paper and office printing within its wider services; specific sticker materials and cutting options need supplier confirmation before being described as available for an order. Avoid assuming a cut style, minimum quantity or special adhesive without that confirmation.
Keep one approved sticker attached to the approved packaging sample and another on its original liner. Together they document the visual result and the supplied delivery format for future reorders.
Before approving production
- Describe whether the sticker is applied by staff to boxes or given to customers as an individual promotional item.
- Specify the face-stock material, adhesive behaviour and the surface on which the finished sticker must remain attached.
- Show both the printed artwork and the proposed contour line, including a safety margin around fine lettering.
- Confirm whether the backing follows the die-cut shape, has a rectangular liner or supports several kiss-cut designs on a sheet.
- Peel and apply a sample using the intended workflow, then examine tiny corners, edges and any trapped air.
- State quantities per design rather than supplying only one combined total for a mixed sticker assortment.
Frequently asked questions
Are kiss-cut stickers always sold in sheets?
No. They can be supplied as single stickers on larger backing pieces or as multi-design sheets.
Is die-cut automatically more durable?
No. Durability depends mainly on face material, adhesive, printing and application conditions rather than the cut style.
Can a complex logo be contour-cut?
Often, but tiny corners and bridges may need simplification. Confirm feasible detail with a production sample.
Which is faster to apply to boxes?
The easier option depends on shape, backing and operator workflow; test actual packaging rather than guessing.
Preparing a similar project? Confirm your material, artwork and sample requirements before ordering. For available apparel, print and display services, see the JCP printing service overview and request a project-specific quotation.