

Printing & Branding
Cap Logo Embroidery: Five-Panel vs Six-Panel Placement Guide
An embroidered cap puts a company mark at eye level, but the front of a cap is not a flat piece of cloth. Seams, crown shape, backing material and bill clearance all limit how a logo can be sewn. A design that stitches neatly on a polo can wrinkle or become difficult to read on structured headwear. Before sending a cap order, buyers should understand the differences between common crown constructions and approve the mark on an actual sample.
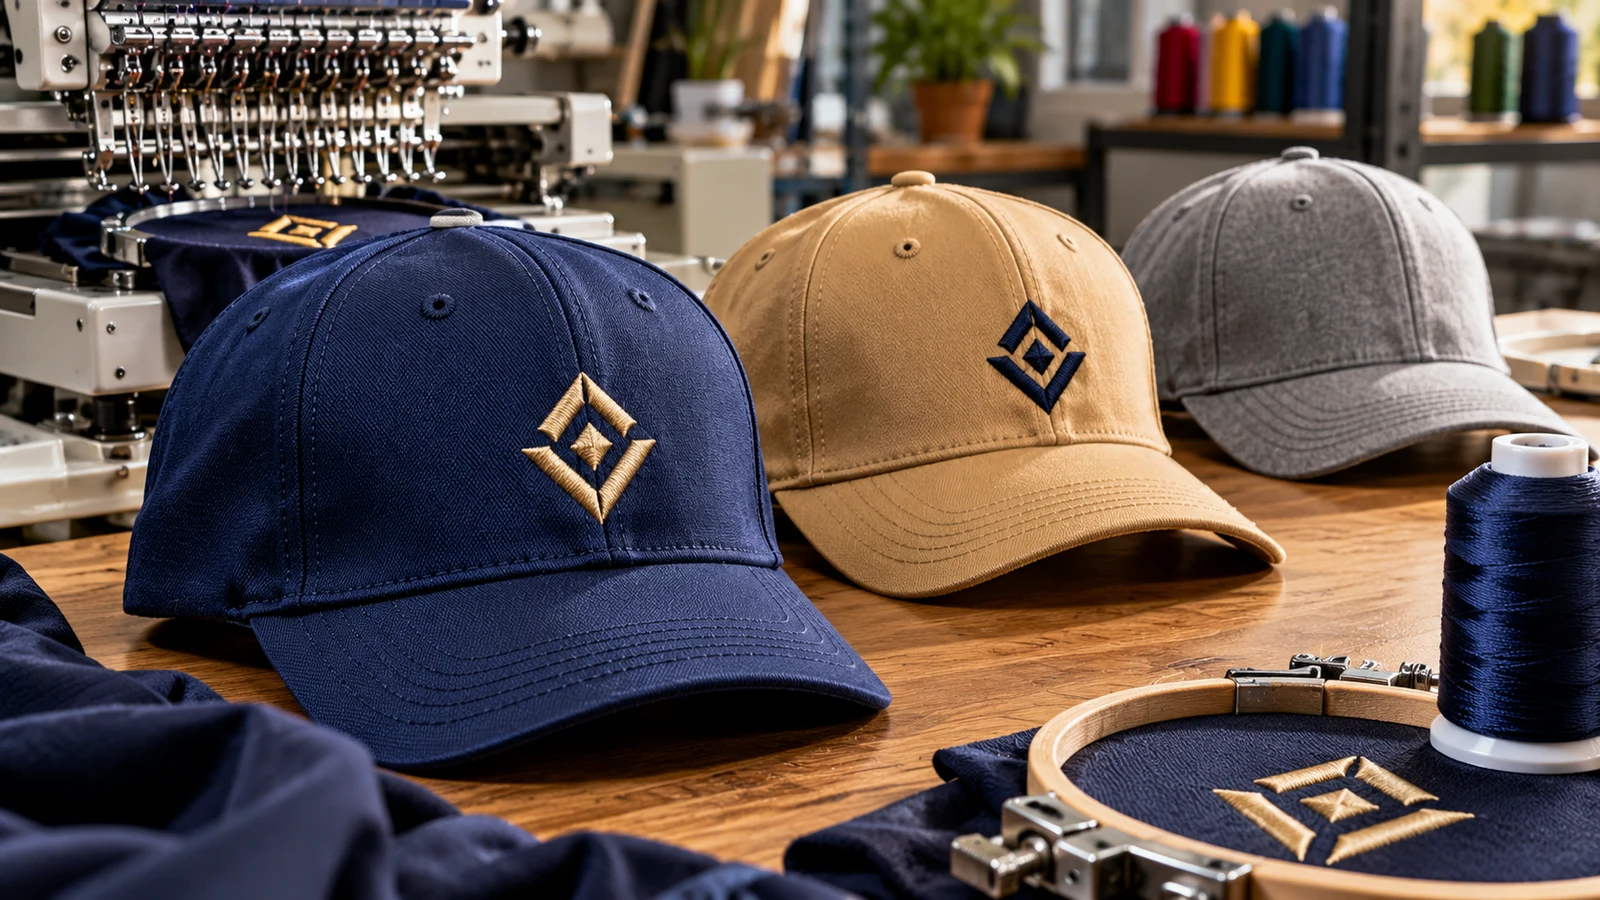
Understand the cap’s front-panel construction
A five-panel cap often presents an uninterrupted centre front area, while many six-panel caps have a seam running down the centre. This distinction matters when a logo includes tiny letters or a fine vertical feature. A seam beneath the design can change how stitches sit and may interrupt delicate contours. However, panel count alone does not determine quality: crown curve, reinforcement, fabric and the machine setup all influence the result.
Ask to see the exact cap model rather than a generic catalog silhouette. Place a paper version of the logo against the front and check its visibility when the cap is worn. A logo positioned too high may distort as the crown curves backward, while one positioned too low risks interference near the visor. If a cap has a central seam, test whether the logo can straddle it successfully or should be simplified and repositioned.
Make small embroidered lettering readable
Embroidery creates letters through thread and stitch paths, not through pixels. Thin strokes, tiny counters and closely spaced characters can merge, especially on textured fabric or at the edge of a curved crown. Enlarging a complicated logo slightly may help, but it can also make the badge dominate the cap. Prioritise clear shapes and enough open space within the design; a one-colour alternative may reproduce more consistently than the full artwork.
The digitised stitch file should be assessed at the intended final dimensions. Reviewing a screen preview is useful for checking colour order and general layout, but it cannot predict every physical issue. Have the supplier sew a real sample with the chosen thread, stabiliser and cap model. Examine the lettering from a normal speaking distance as well as close up. If a slogan disappears at ordinary viewing distance, consider omitting it from the cap design.
Choose between structured and soft crowns
Structured caps usually use support material to retain a defined front shape. They can present certain embroidered logos neatly, yet a thick design may add unwanted stiffness. Softer unstructured caps conform to the head and can feel more relaxed, but a dense stitched area may create puckering or an uneven surface. Neither type is universally better; the suitable choice depends on wearer preference, brand style and the geometry of the logo.
Consider how caps will be used. Outdoor event crew may prioritise ventilation and a secure adjustable closure, whereas a reception or retail team may prefer a cleaner crown profile. A heavy raised design is not necessarily an advantage if the wearer must fold the cap or pack it in a bag. Put wearer comfort alongside appearance on the approval sheet. Request the actual available fabric and closure specifications rather than assuming all caps with the same panel count behave alike.
Position the logo with the visor and seams in mind
The apparent centre of a cap changes when it sits on a head. On the table the cap may look symmetrical, but the visor creates a strong visual line that makes small misalignment noticeable. Check that the left and right margins of the stitched design feel balanced relative to the front panels. Do not rely solely on a ruler placed across a soft, empty crown. Photograph the worn sample from the front and three-quarter angle.
For side embroidery, assess where the curve meets the strap or ventilation eyelets. Small side logos are frequently more effective than forcing a second detailed design onto limited fabric. If the order involves a front mark plus a rear wordmark, approve both independently and confirm whether each needs a separate machine setup. JCP lists cap embroidery among its relevant applications; size and placement still require approval on the actual product.
Compare embroidered samples instead of mockup colours alone
Thread reflects light differently from flat printing. Gold, ivory or bright yellow may read differently on navy, black and khaki caps even if the digital colour codes look similar. Request physical thread options where brand colour matters, and view them under ordinary indoor and daylight conditions. A photographic mockup may help stakeholders select a direction, but lighting and screen calibration make it insufficient as a final colour guarantee.
Examine the reverse and edges of a sample as carefully as its face. Loose ends, heavy backing or visible puckering can change comfort and perceived quality. Ask how the finished item should be washed and dried, because stitching is durable but cap crowns and visors may be damaged by inappropriate cleaning. Keep an approved reference cap for repeat orders, along with thread references and artwork revision information. This is especially useful when future orders combine different sizes or cap models.
Prepare a concise production brief
A useful cap brief contains the exact model, panel style, colour quantities, logo file, target position, intended embroidery width and any acceptable simplifications. Show both the original brand mark and an approved simplified version if the design contains delicate details. Identify which colours of cap need contrasting thread. Confirm the sample approval route before production begins so a mockup is not mistaken for a finished embroidery proof.
If the cap is being purchased for a team event, allow for distribution as well as manufacturing. Adjustable closures still have a usable fit range, and some wearers may prefer another profile. Confirm availability and the intended delivery date with the supplier instead of stating an assumed lead time. The strongest cap order is not the one with the largest logo; it is the one whose stitching, crown and daily use work together.
Frequently asked questions
Is a five-panel cap always best for embroidery?
No. It may offer an uninterrupted front, but the crown’s shape and reinforcement also matter. A six-panel cap can look excellent with an appropriate design and machine setup.
Can a full-colour photo be embroidered on a cap?
It may need substantial simplification or another decoration technique. Gradients and fine photographic detail rarely translate literally into conventional thread stitching.
Does a cap seam make logo embroidery impossible?
Not necessarily. Some designs can cross seams, but fine lettering and detailed shapes require testing. Ask to inspect a sample rather than relying on a general rule.
What should be approved for a repeat cap order?
Keep the cap model and colour, digitised artwork revision, stitched dimensions, thread references, placement photograph and sample sign-off together.
Preparing an order? For garment, artwork and print specifications, consult JCP’s official printing-service information and request a quotation for the exact item and quantity.